1. Actions Creation Overview
2. Dashboard
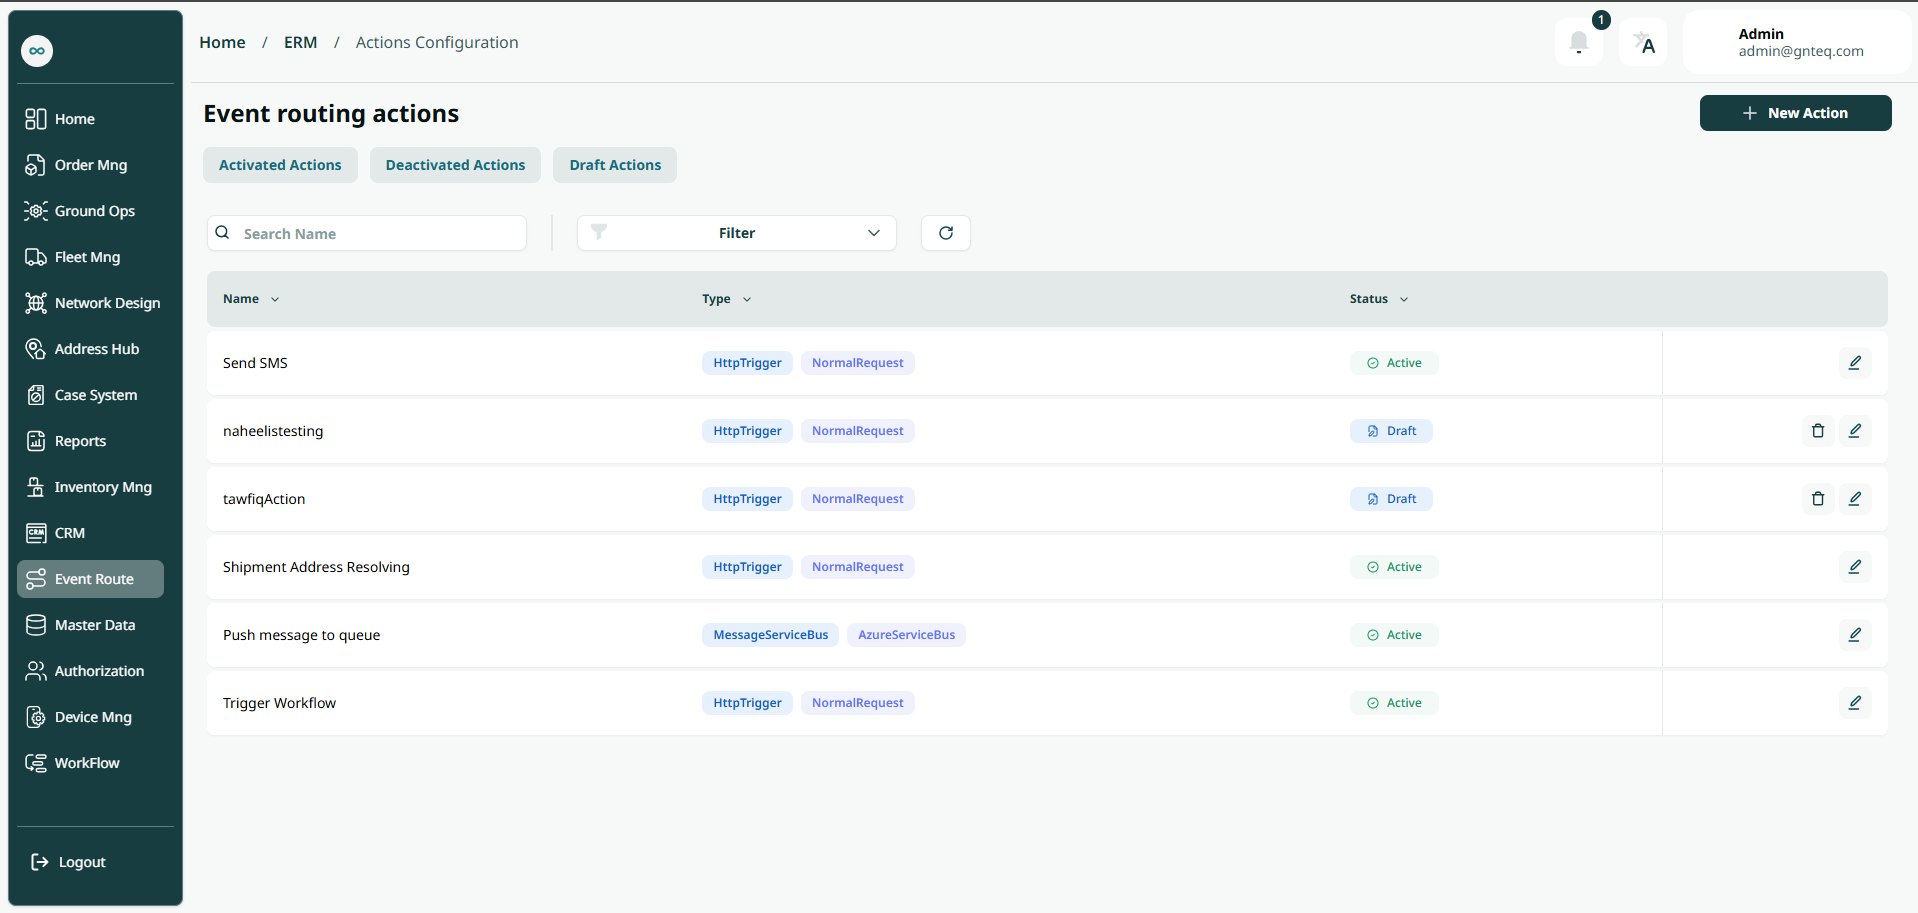
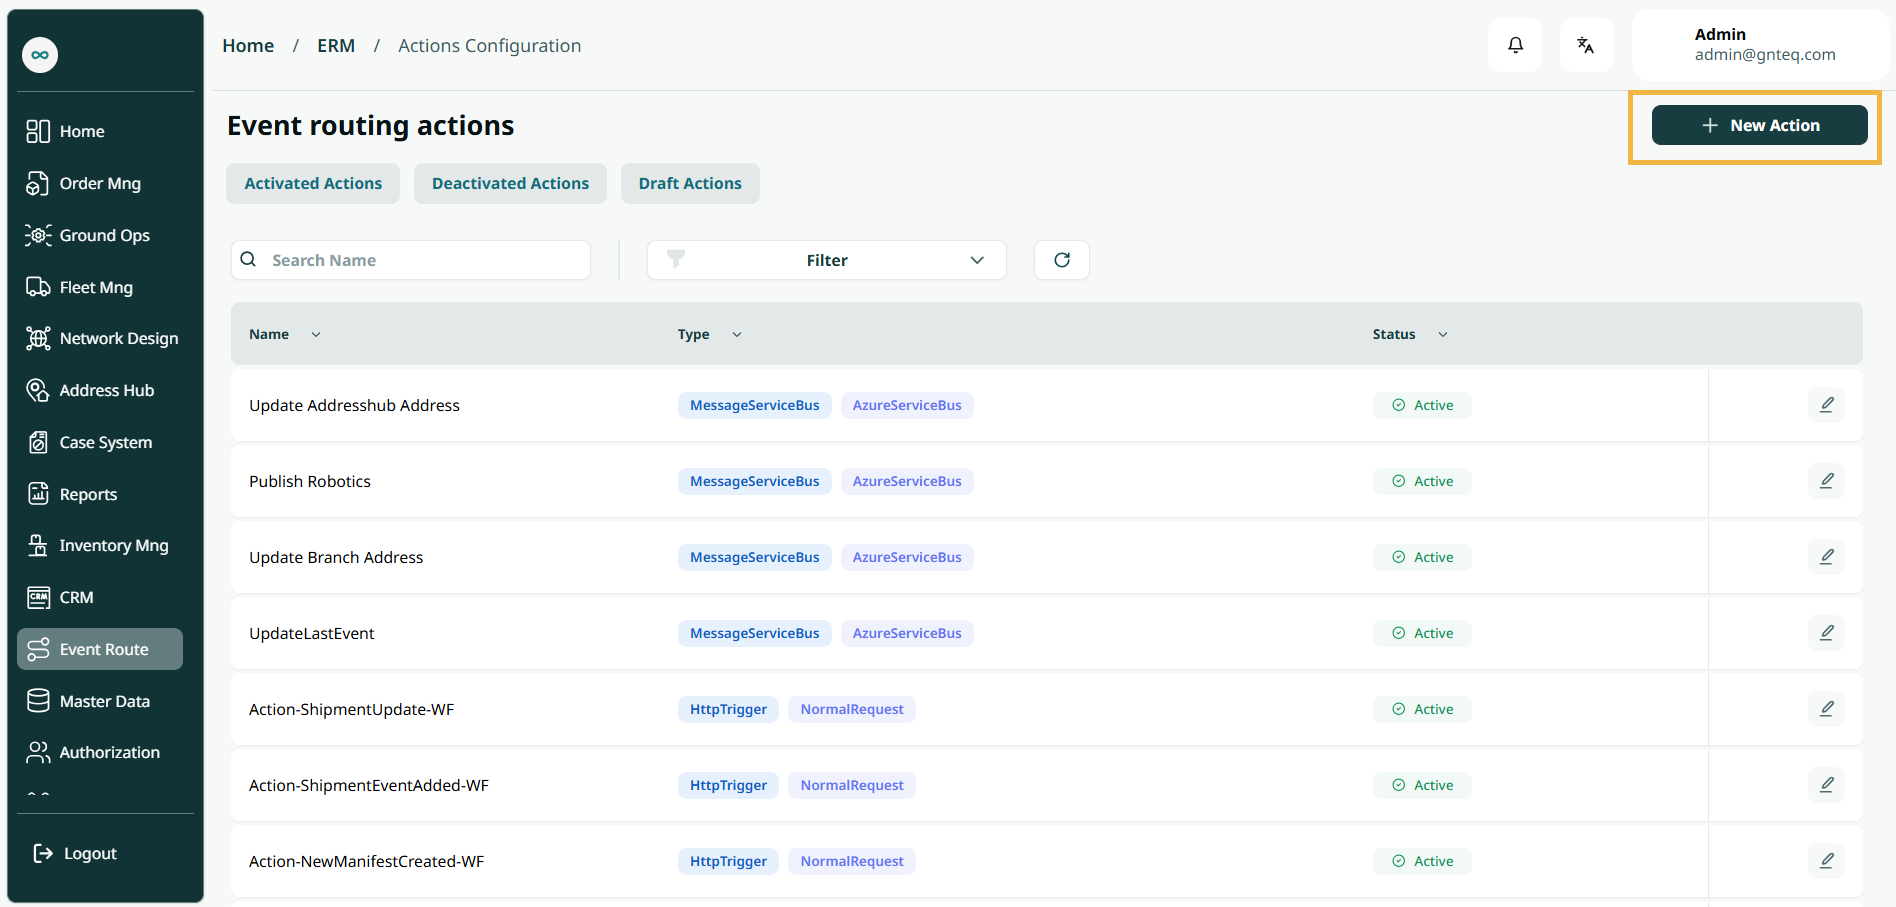
The user can view the defined actions in the system by navigating to the ‘Event Routing Actions’ screen in the Validations Route from the left navigation panel as follows:
-
New Action: the user can add new action by clicking on ‘New Action’.
-
Filter: the user can search for the action by type, http type…..etc.
-
Rows Per Page: the user can select the number of items to show on each page.
-
Actions: by clicking on this button the user can edit, delete.
2.1 Edit Action
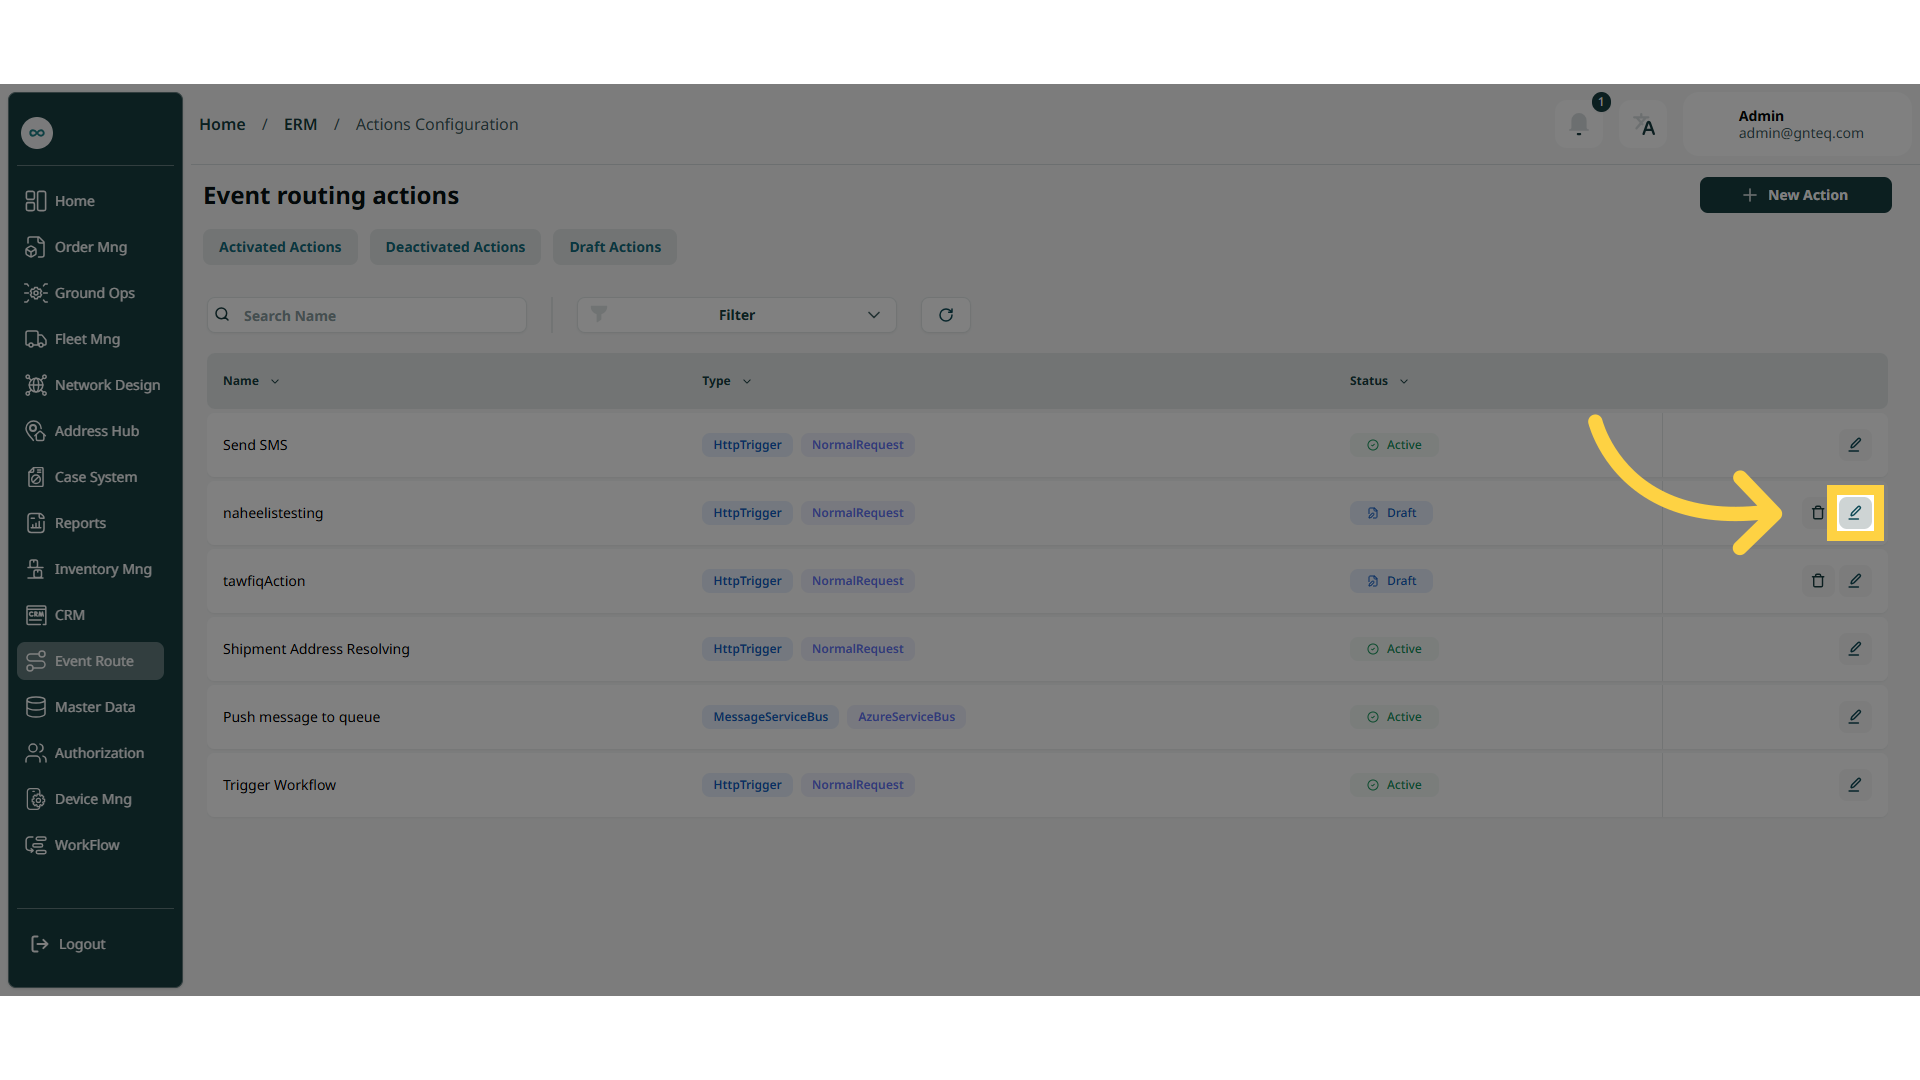
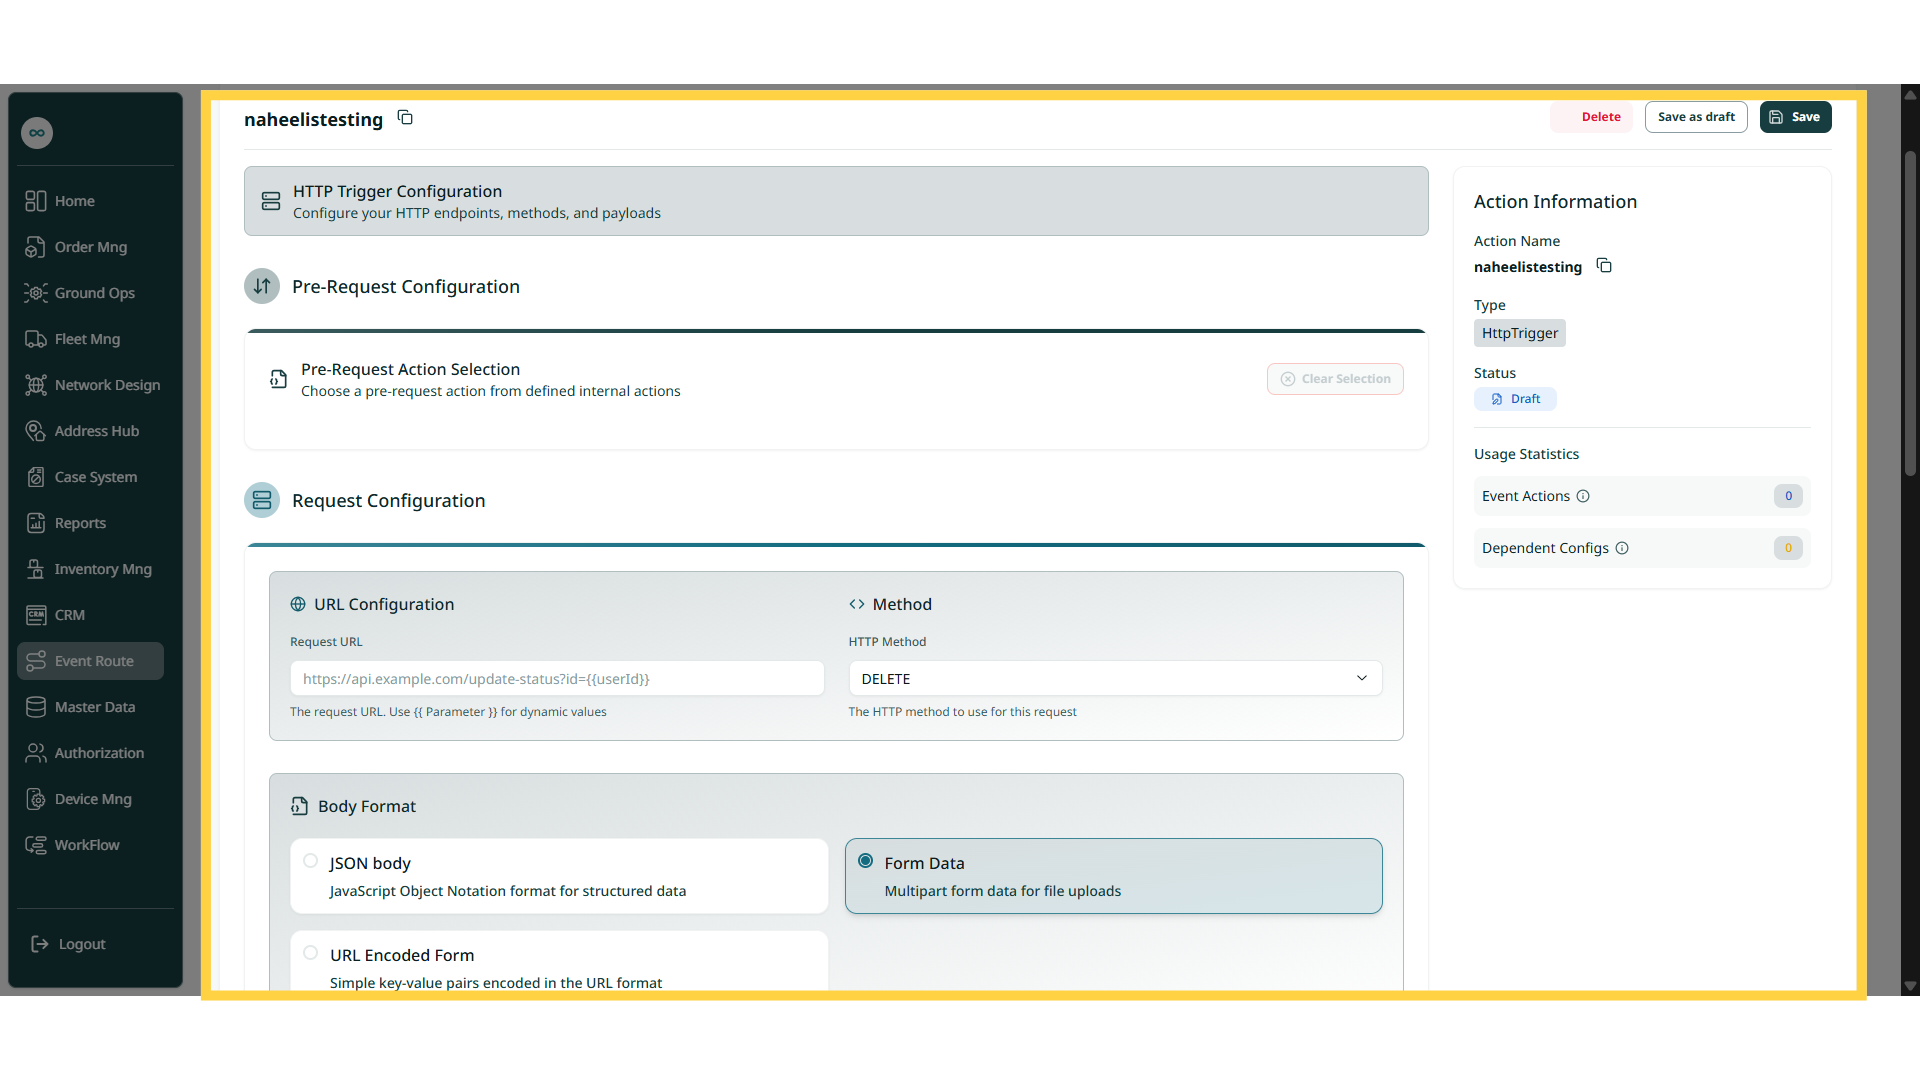
The user can edit an existing action by navigating to the ‘Event Routing Actions’ screen via the Validations and clicking on Edit Action button:
2.1.1 Delate Action
The user can delete an existing action in the system by going to the 'Event Path' screen via the Validations and clicking on an edit action, and then clicking the Delete button.
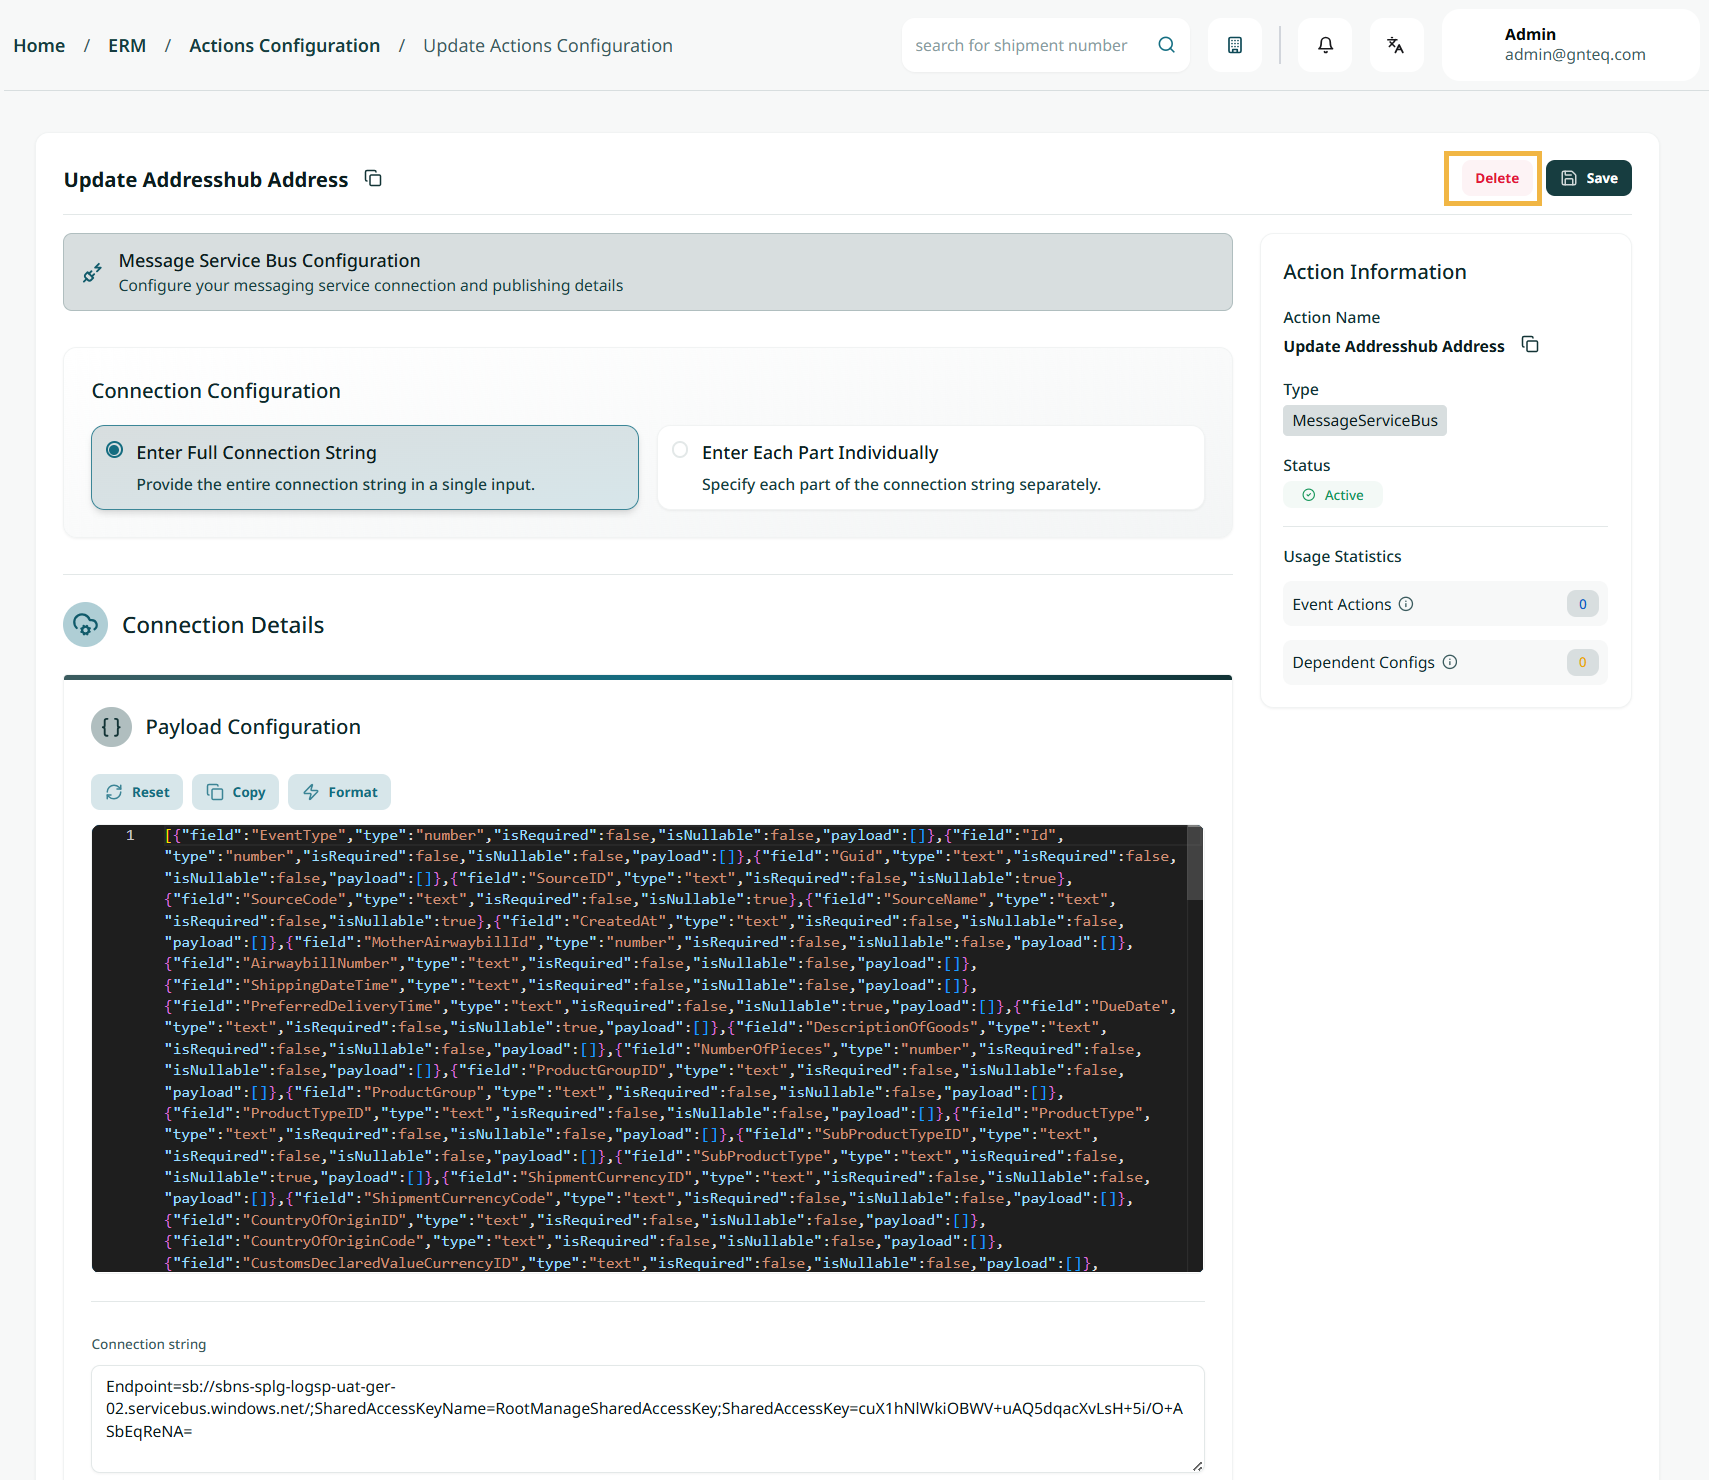
Note: The action can be deleted only when there are no events linked or related to it.
2.2 Add Action
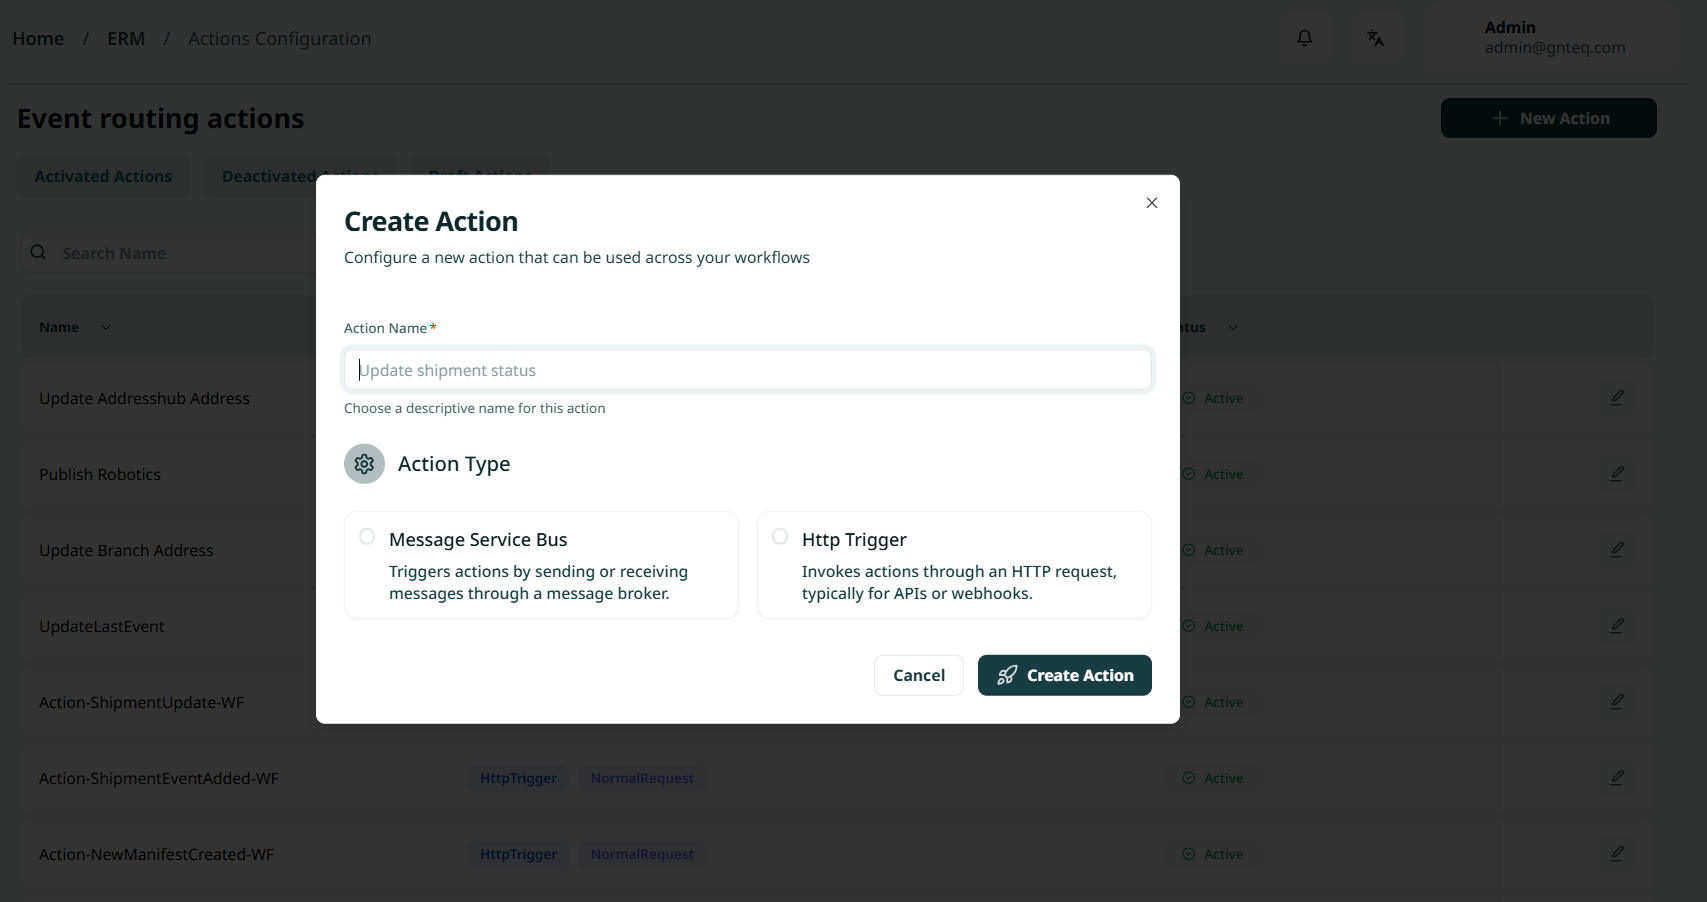
The user can add a new action by navigating to the 'Event Route' screen via the Validations and clicking on the New Action button:
-
Action Name: This field represents the name of the action.
-
Action Type: This option represents the type of action (HTTP Trigger, Message Service Bus).
Note: When the user selects the HTTP Trigger action type, they must choose the purpose of the action (Normal Request, Internal Use).
-
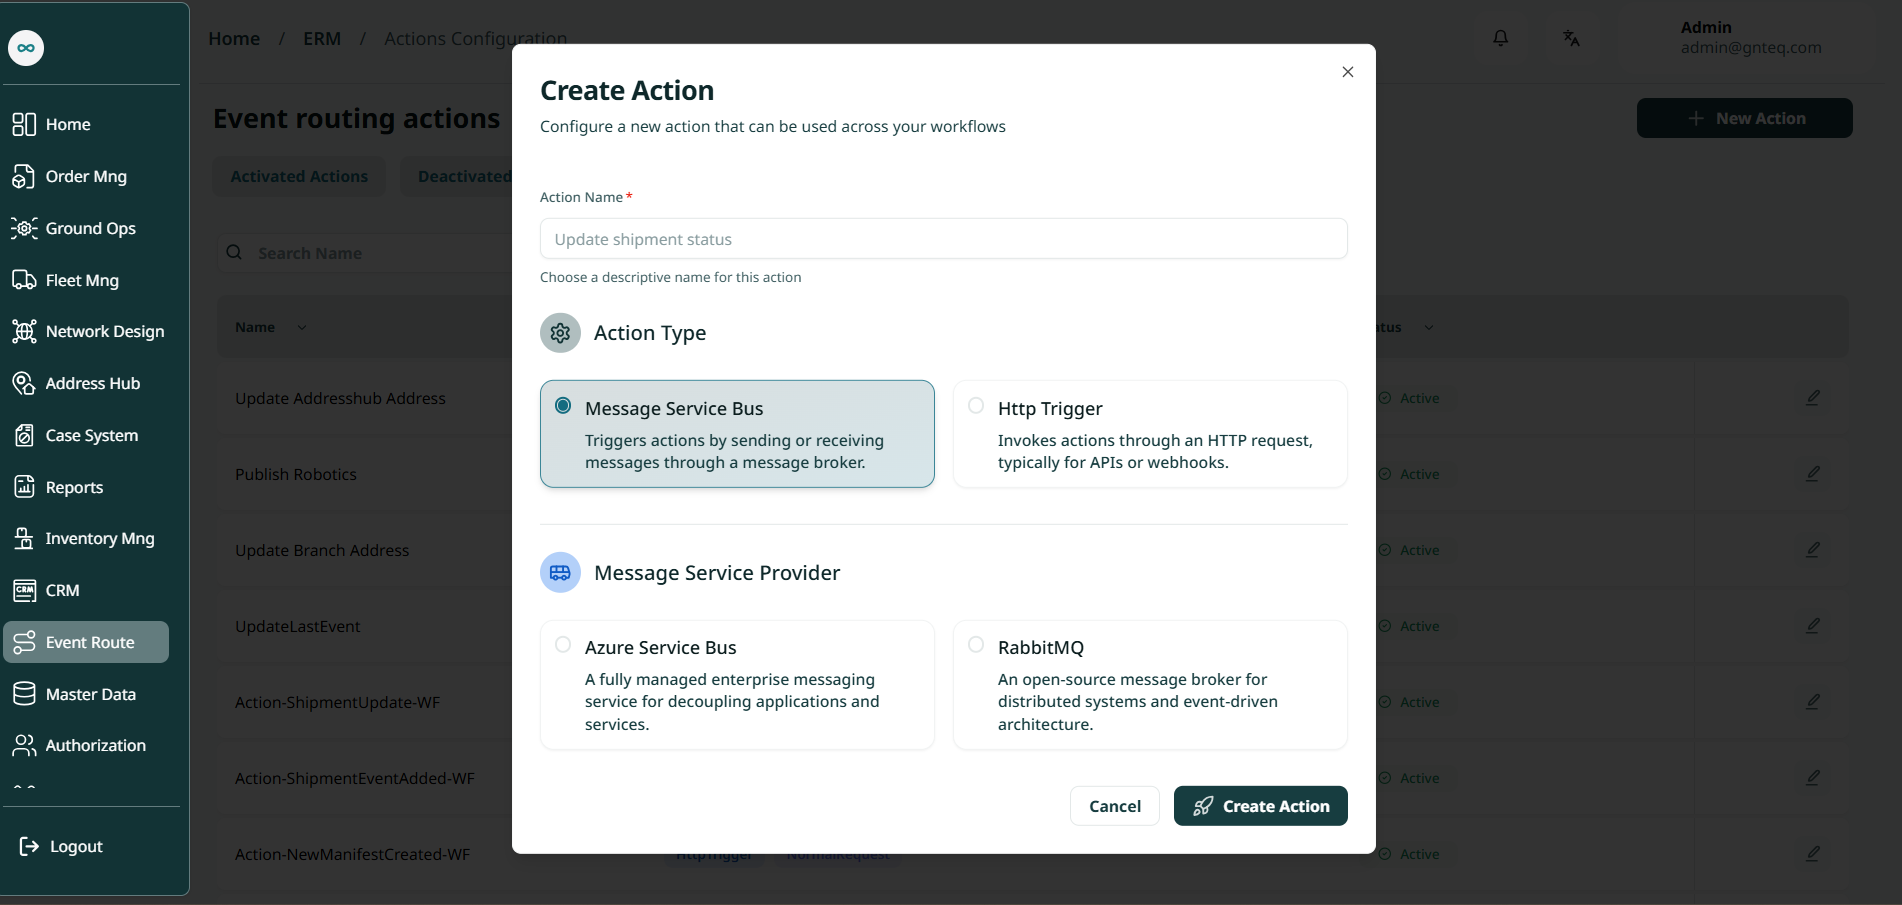
Action Name: This field represents the name of the action.
-
Action Type: This option represents the type of action (HTTP Trigger, Message Service Bus).
Note: When the user selects the Message Service Bus action type, they must choose the message service provider (RabbitMQ, Azure Service Bus).
By clicking Event Action, the event will be executed successfully.