
1. Return To Shipper
1.1 Dashboard
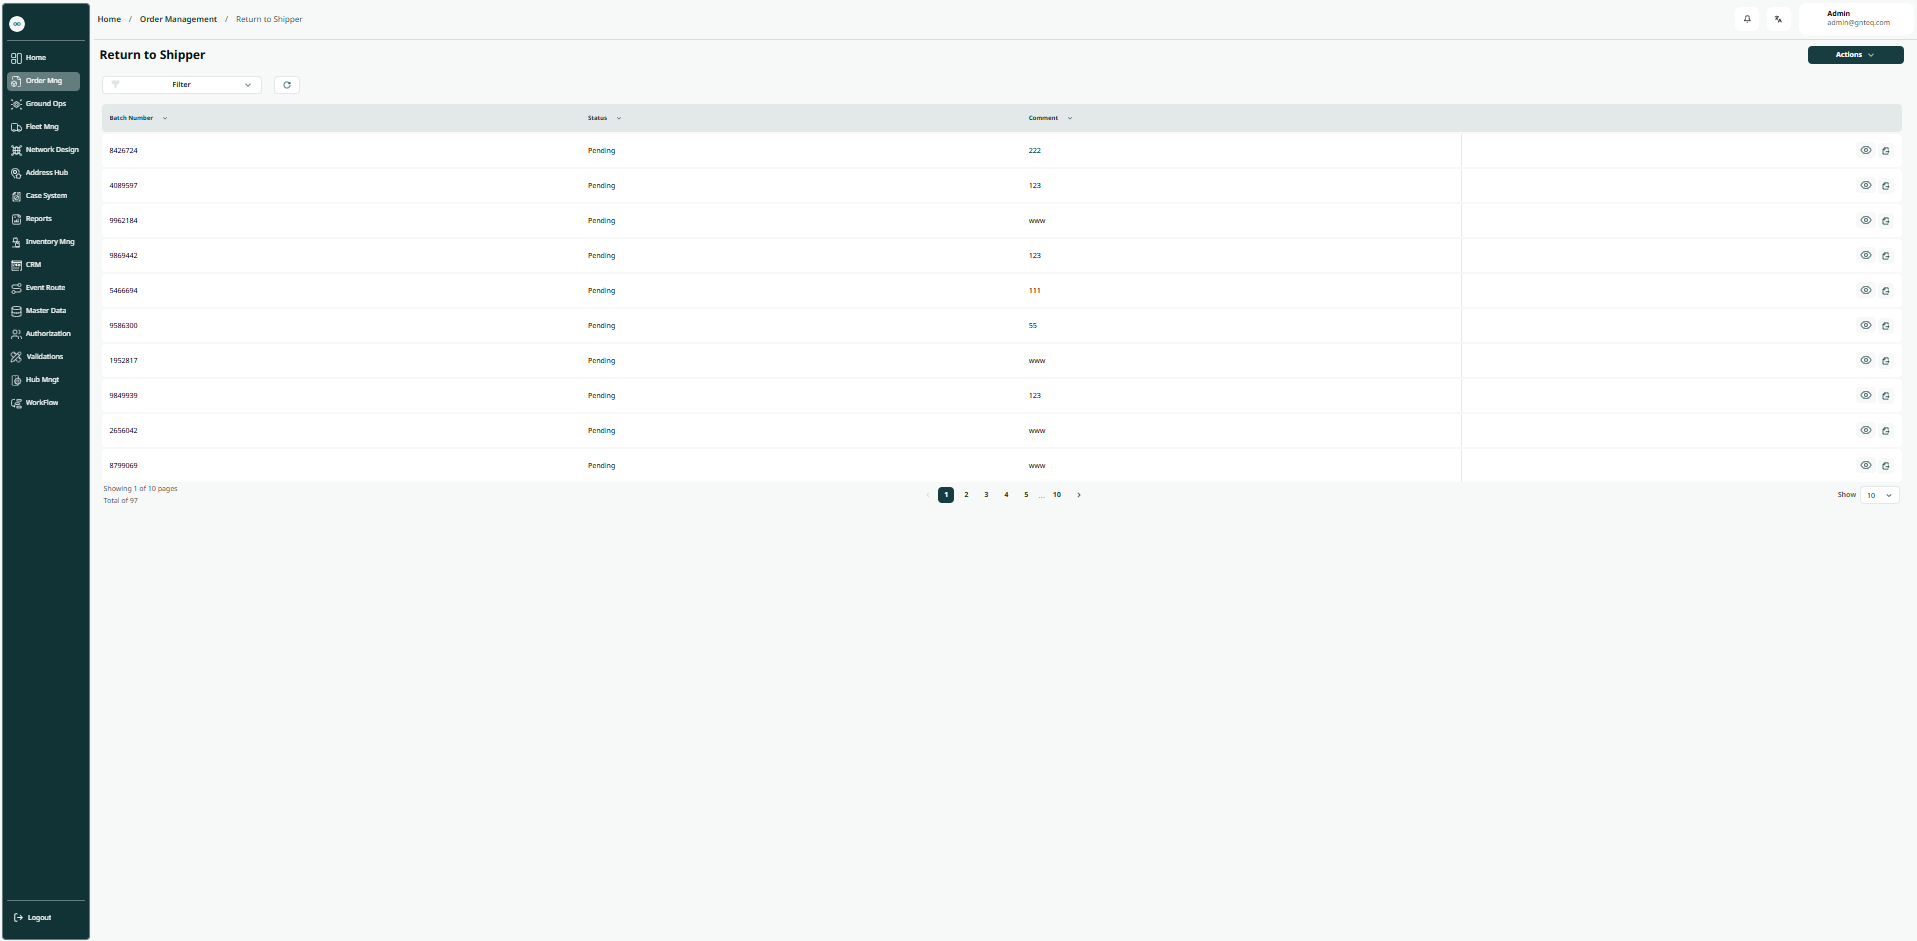
The user can return to the shipper by navigating to the ‘Return To Shipper’ screen via the Order Management as follows:
-
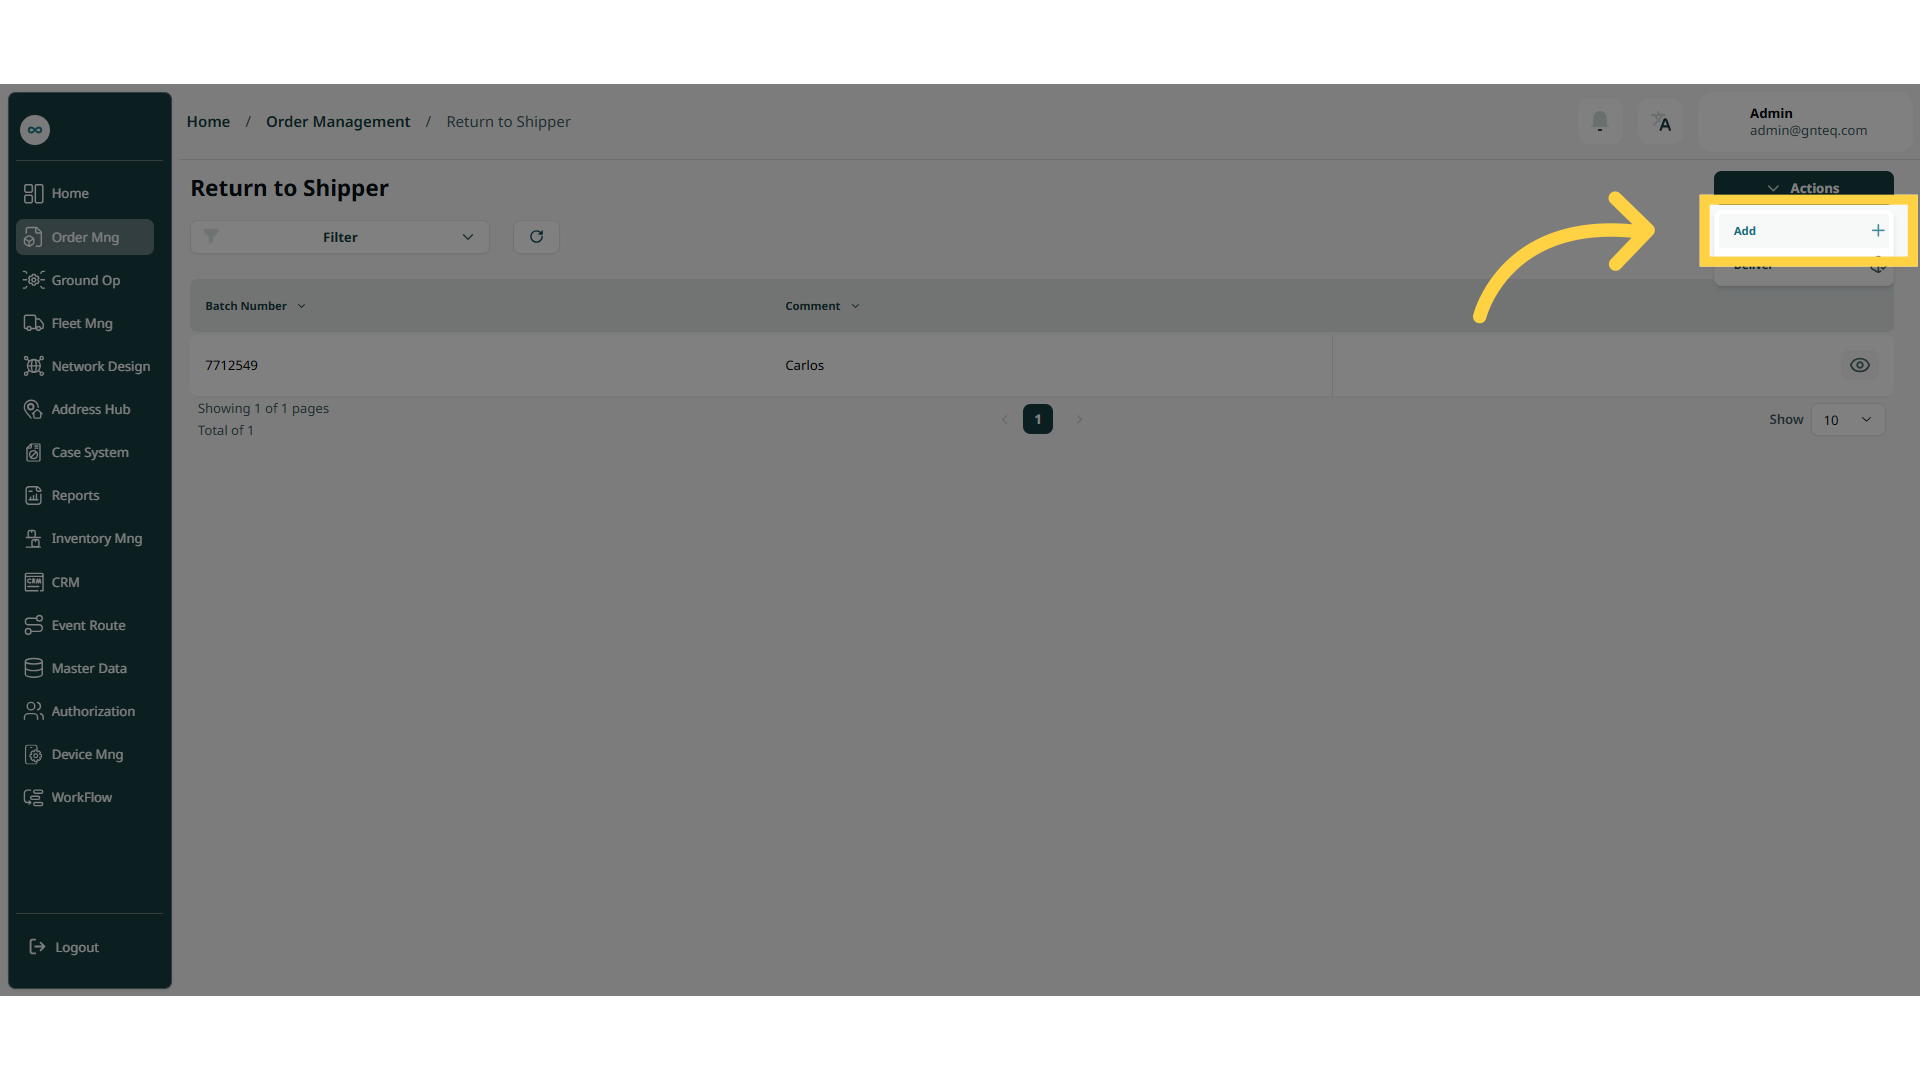
Add: the user can add shipments to return them it the shipper by clicking on “Add” from Actions.
-
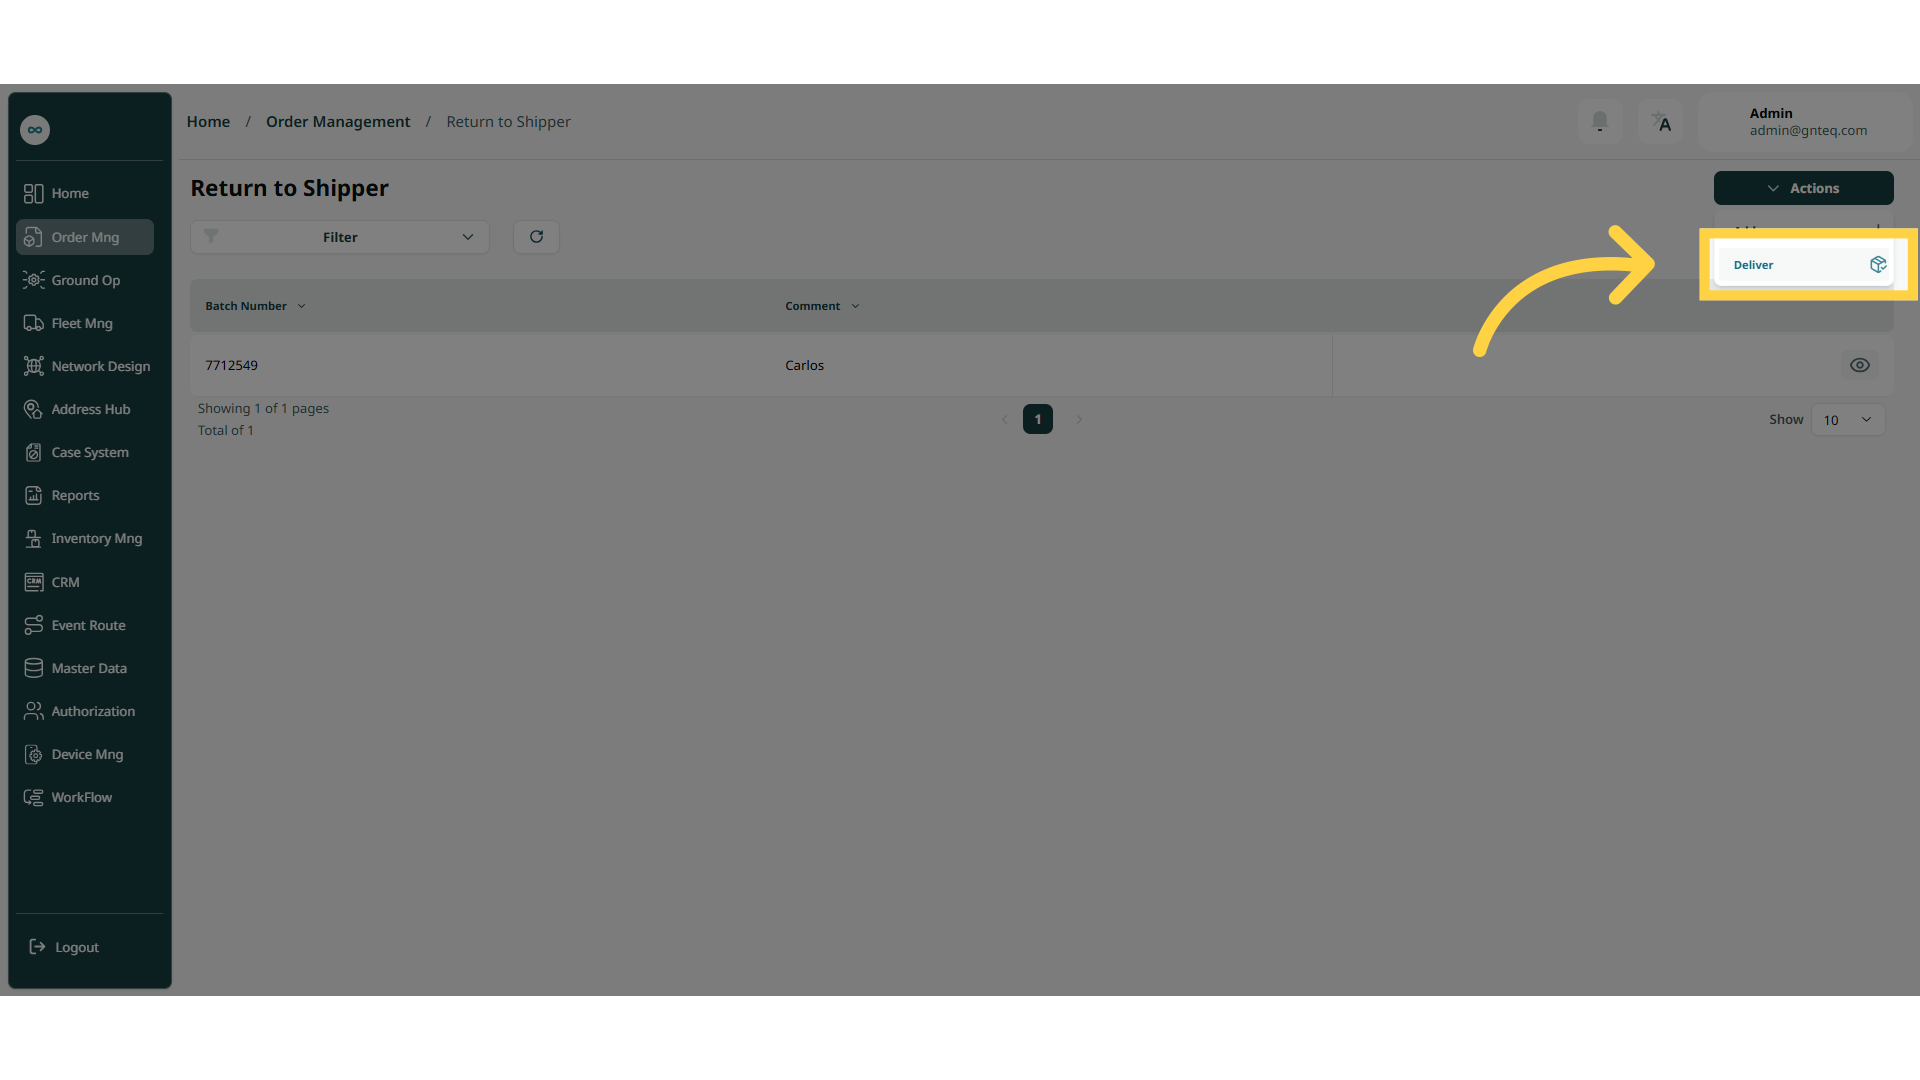
Deliver: the user can deliver the shipments for the deliver by clicking on “Deliver” from Actions.
-
Filters: the user can search for the shipment by status, comment.
-
Rows Per Page: the user can select the number of items to show on each page.
-
Actions: by clicking on Actions, the user can view details and download a report of the shipment.
1.1.1 View Details
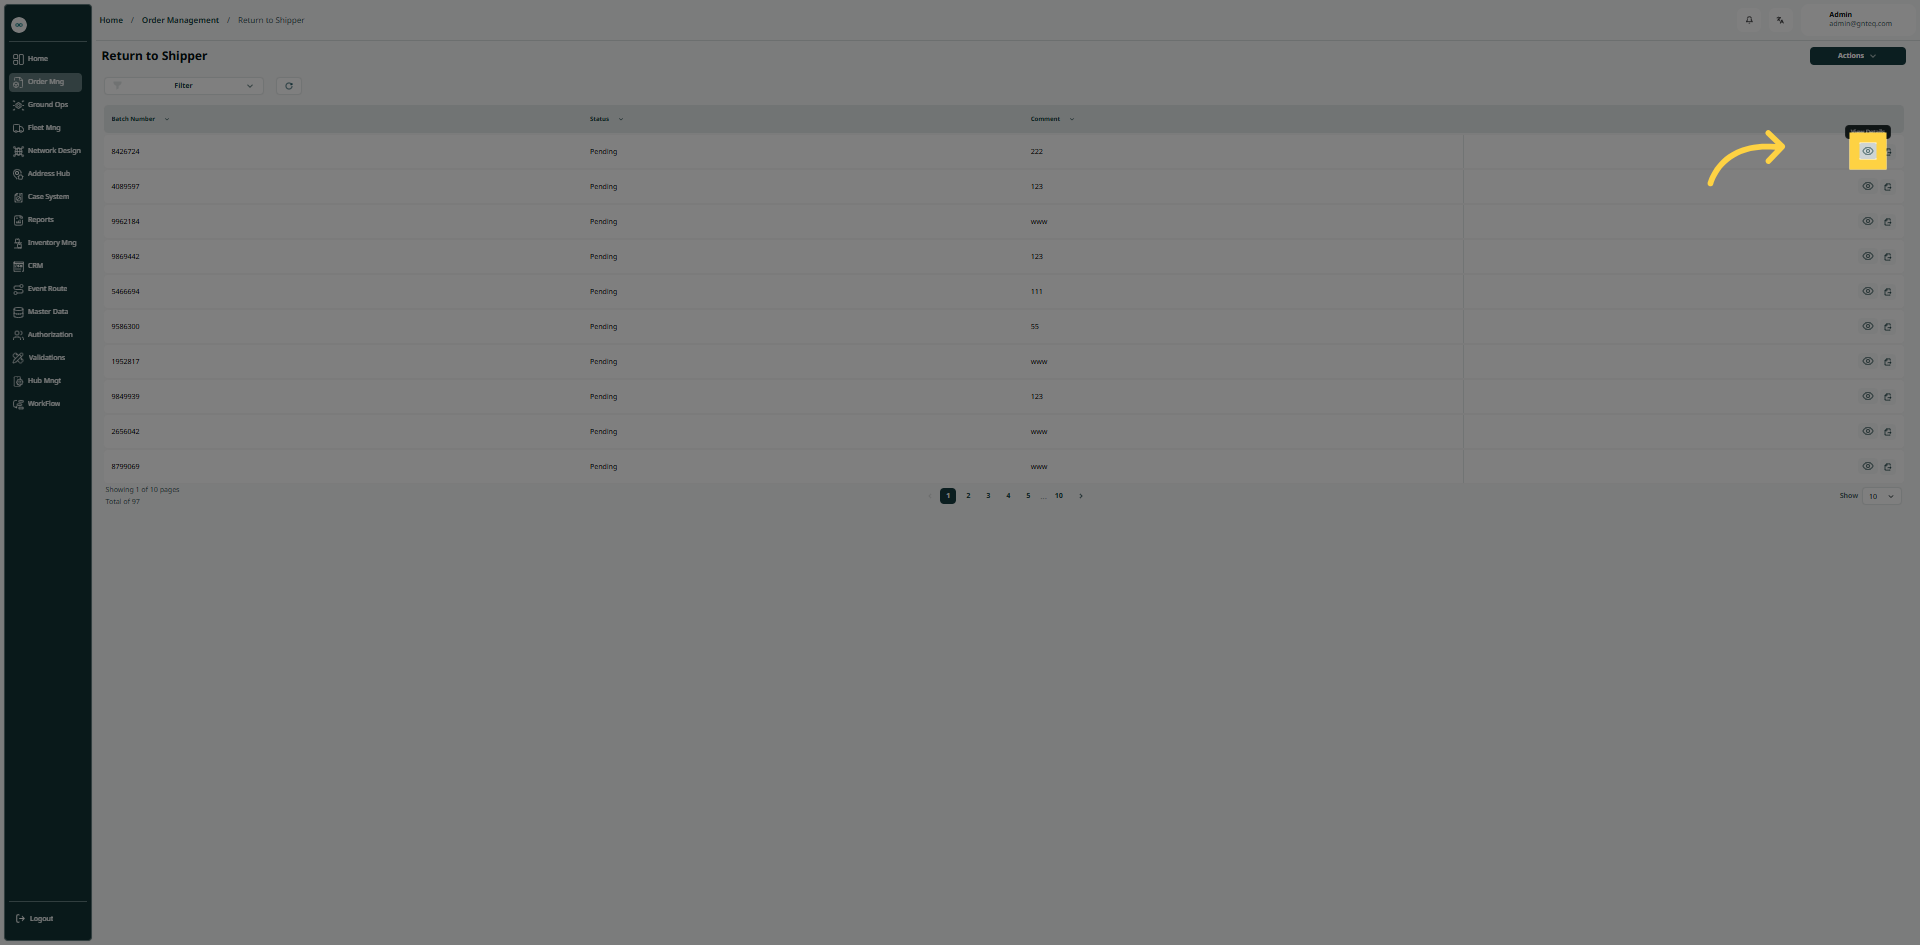
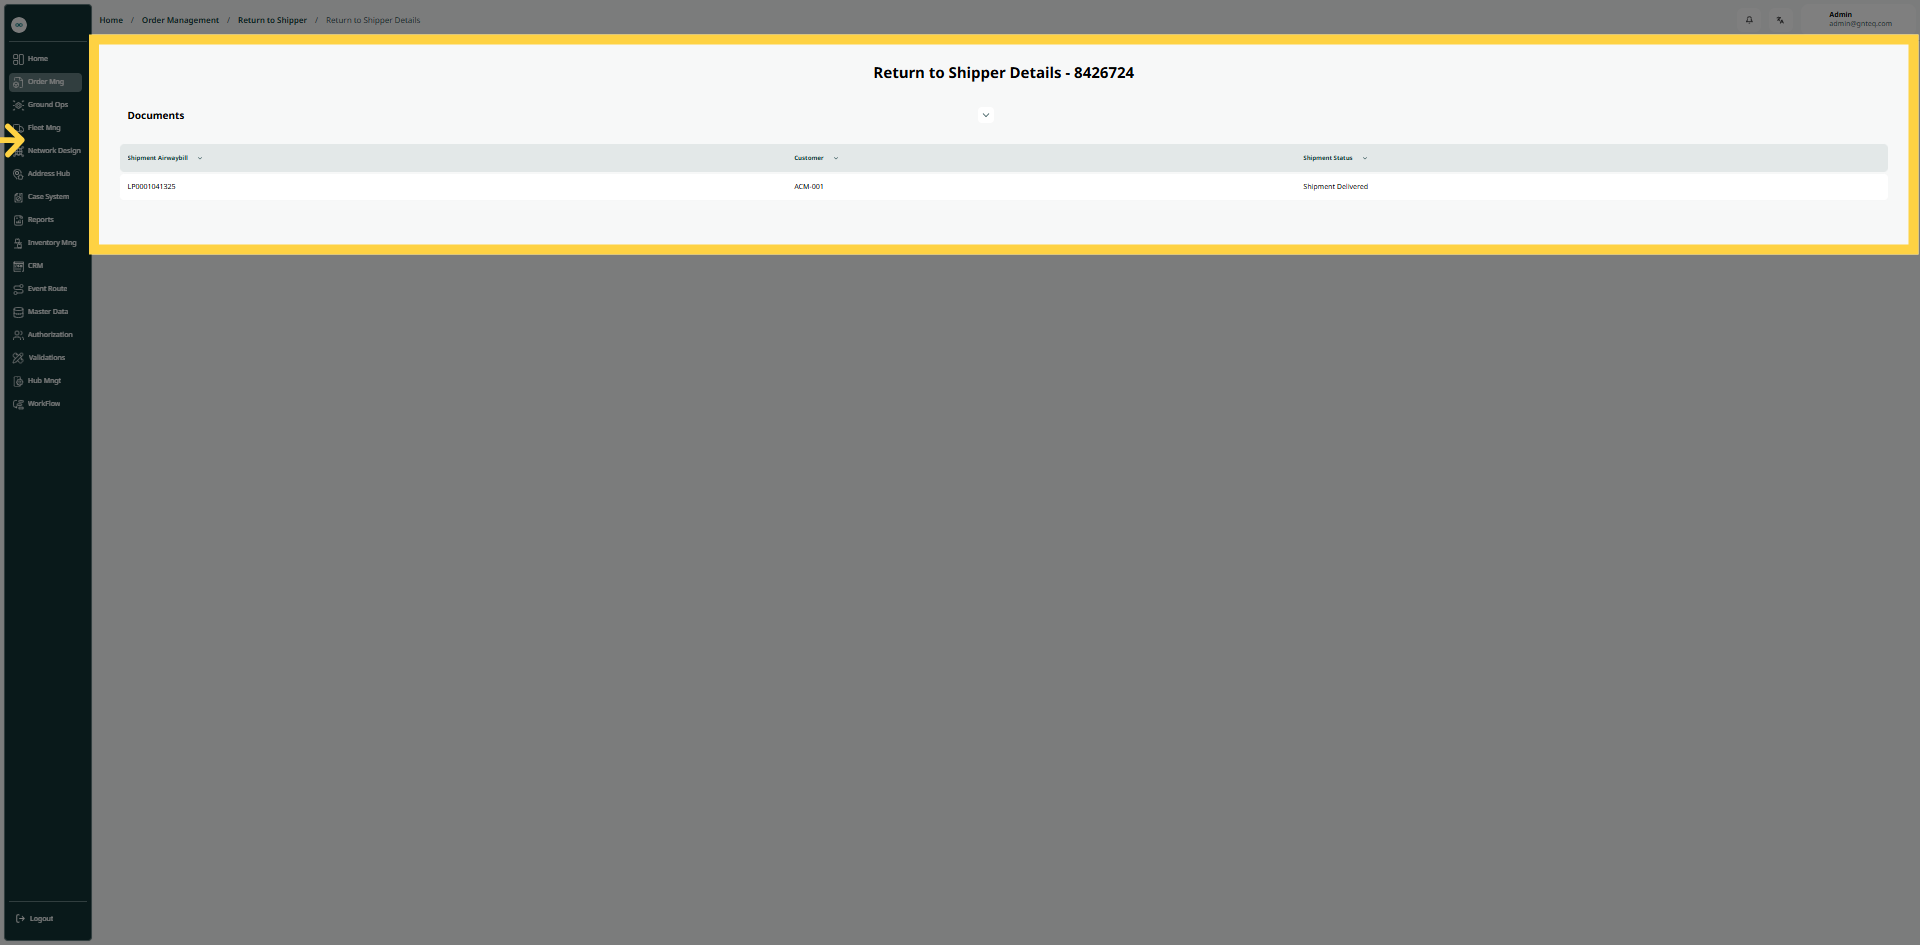
The user can view the details by navigating to the ‘Return To Shipper’ screen via the Order Management and clicking on View Details from Actions as follows:
1.1.2 Report
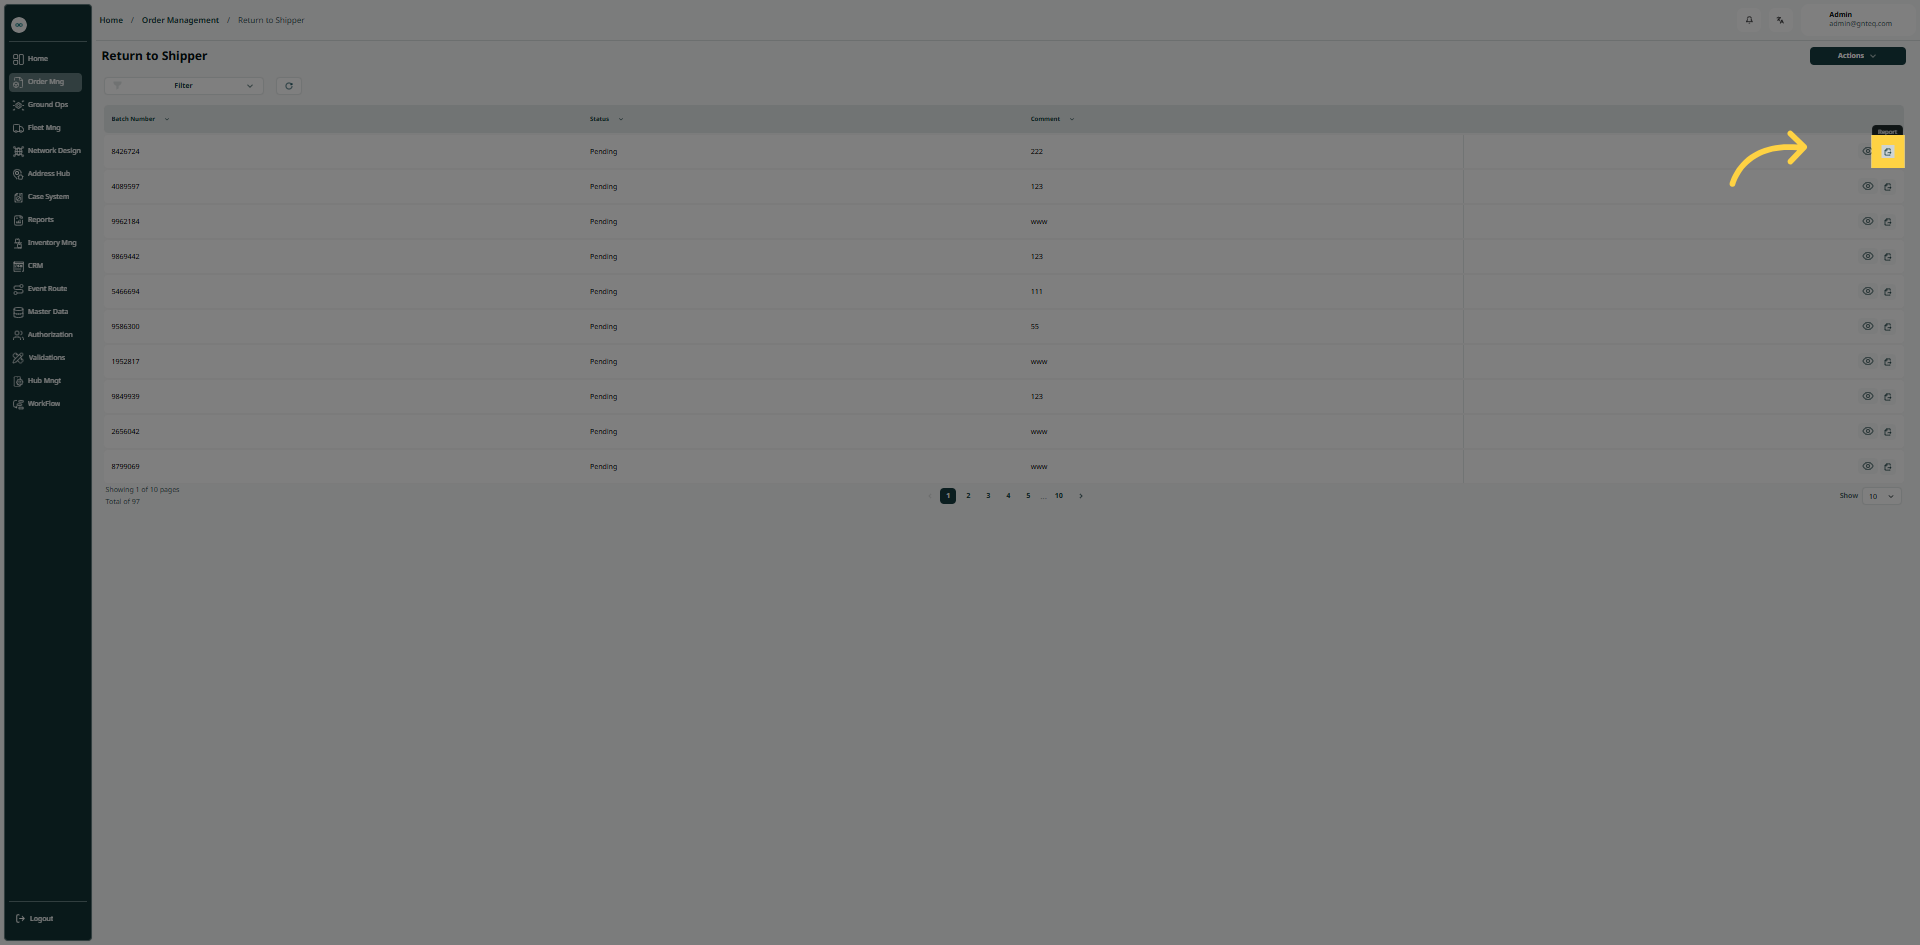
The user can downloads the report by navigating to the ‘Return To Shipper’ screen via the Order Management and clicking on Report from Actions as follows:
1.2 Add New Return To Shipper
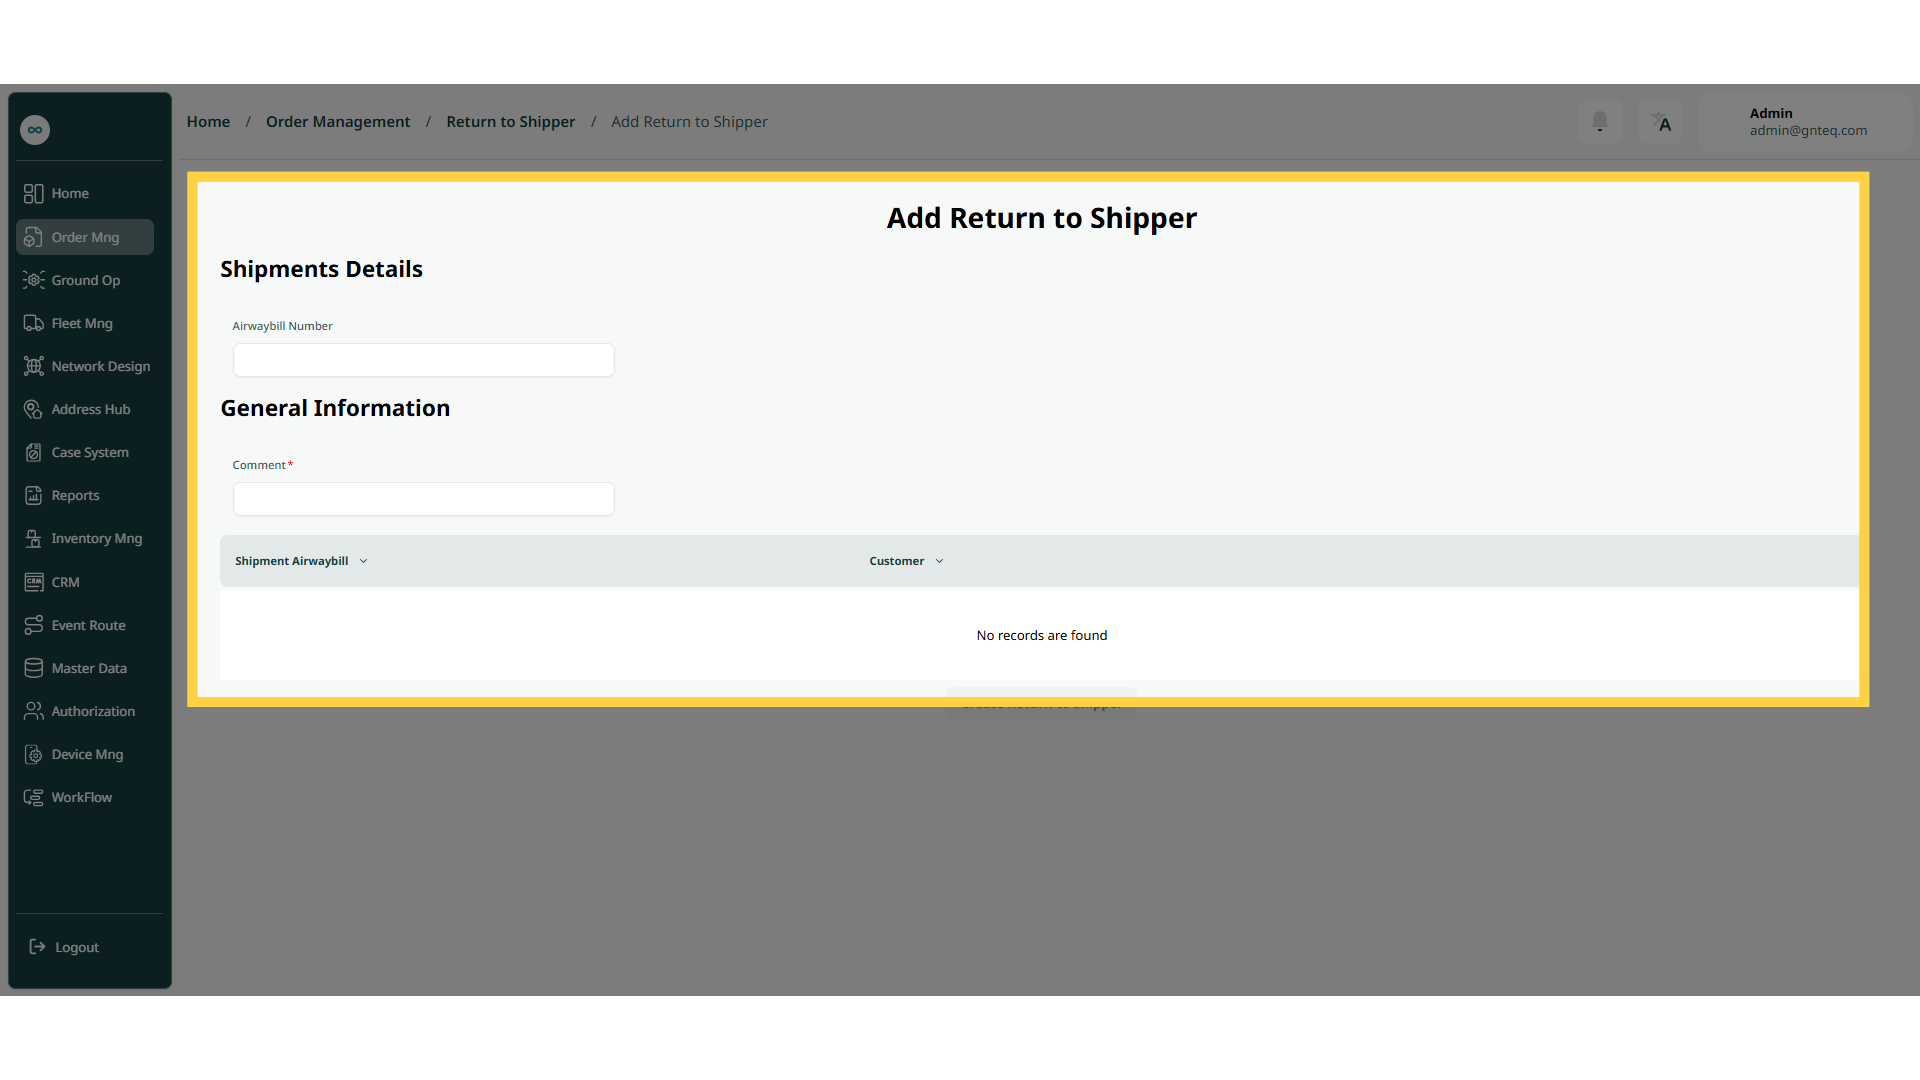
The user can add a new return to the shipper by navigating to the ‘Return To Shipper’ screen via the Order Management and clicking on Add as follows:
-
Airwaybill Number: this field represents the number of the airwaybill.
-
Comment: this field represents comments regarding the shipment return.
By clicking on Create To Shipper, the return to shipper will be added successfully.
1.3 Deliver Return To Shipper
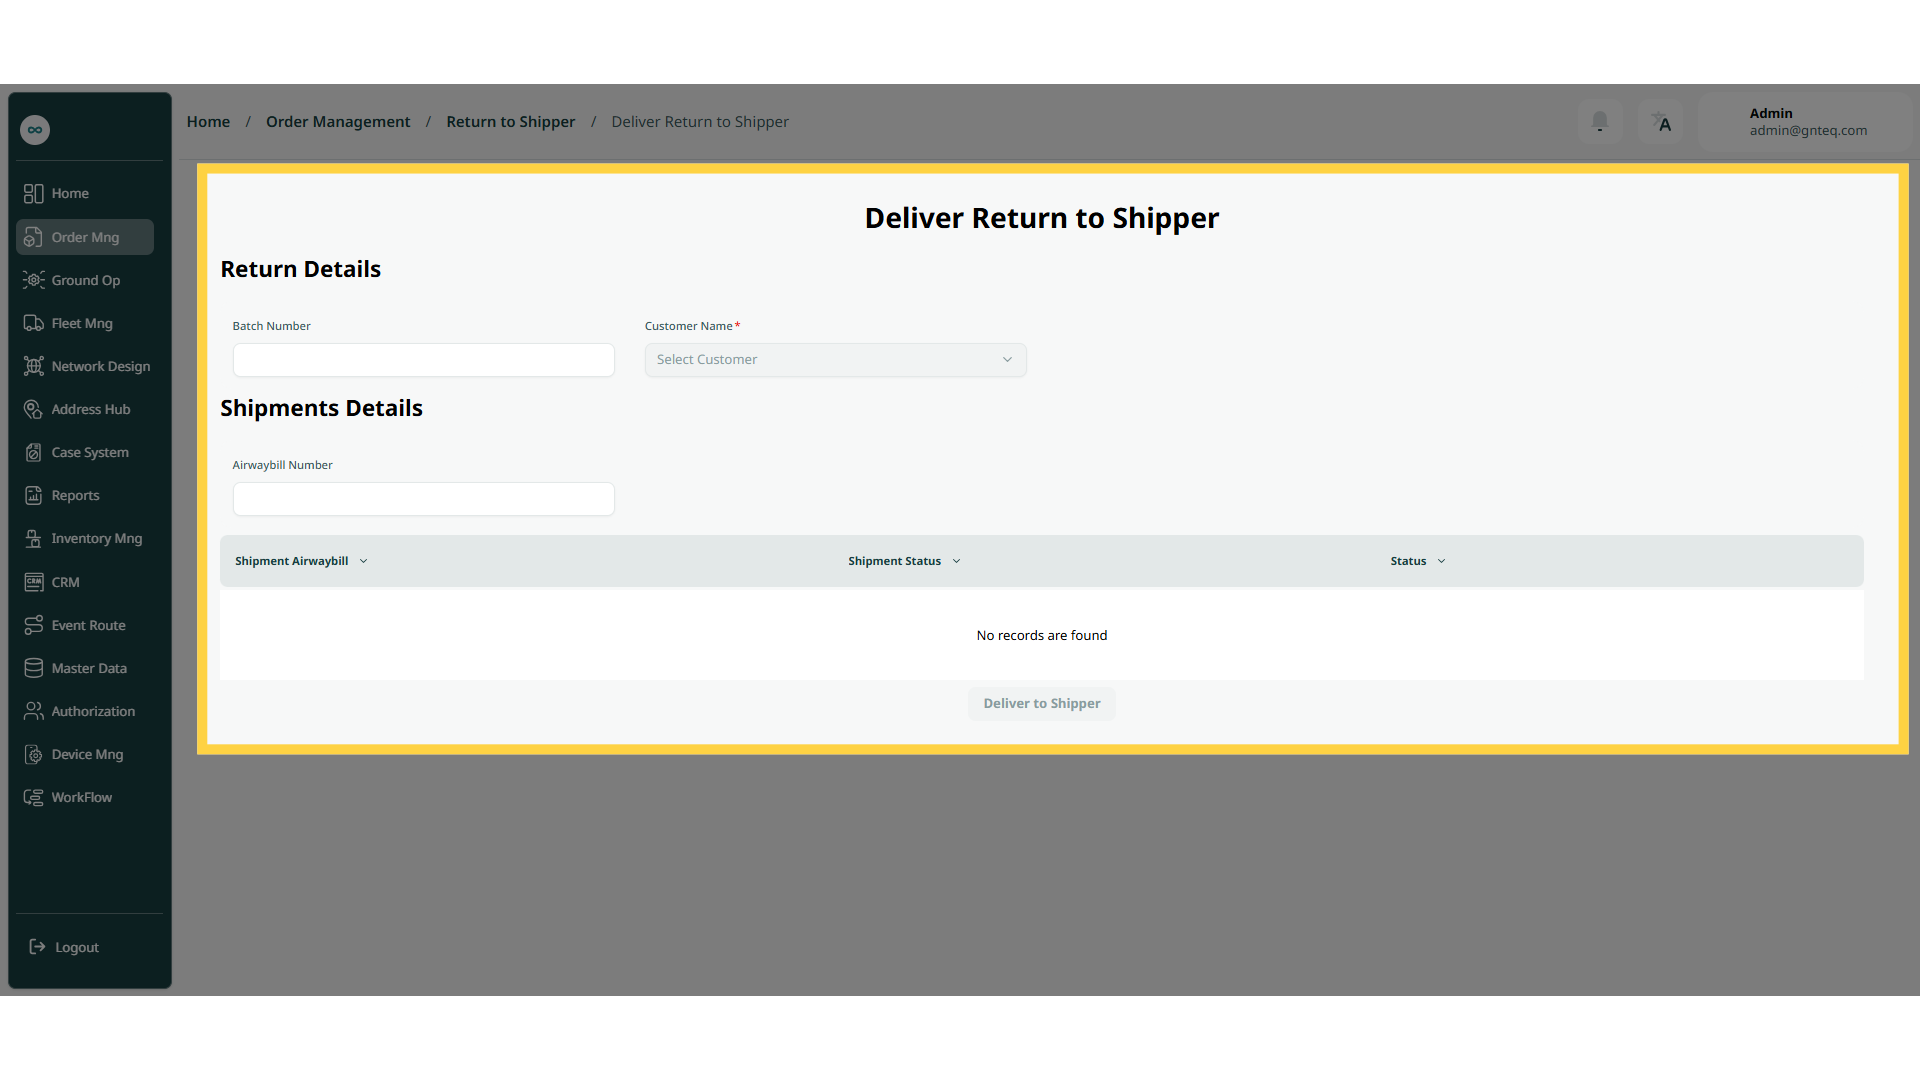
The user can deliver return to shipper by navigating to the ‘Return To Shipper’ screen via the Order Management and clicking on Deliver as follows:
-
Customer Name: this field represents the customer’s full name.
-
Airwaybill Number: this field represents the shipment number.
-
Batch Number: this field represents a unique identification code assigned to a specific group of products.
By clicking on Deliver To Shipper the delivery will be added successfully.